PART-1
Adv. Basic Part-III(প্রথম পর্ব Part-VI)
1)What is Eyedropper Tool ?
Eyedropper tool is one of the easiest toolto use. Simply, select the tool and click on the area from where you want to pick the color and use it with other tools. The options are Sample Size as well as Sample Layers which we explained earlier. One more option to show or hide sampling ring is also added which basically displays a circle while taking sample.
2)What is Color Sampler Tool ?
This tool allows you to store four color values in a flyout panel that appears after the first color is selected. It can be useful while working with multiple colors. The options on the options bar include Sample Size which you can use to define the sample point size along with the Clear option to clear the samples.
3) What is Note Tool ?
Note tool is used to add sticky notes on top of the document where you can add text notes for future reference or pass the document to others to let them know what is expected to be done in those areas.
The options bar include options to add the name of the Author as well as choose the Color of the notes along with options to Clear all the notes and Show/Hidenotes panel.
4)What is Spot Healing Brush Tool ?
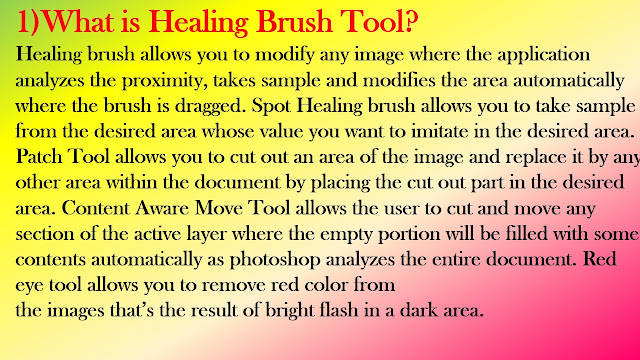
This tool allows you to quickly retouch your photos particularly the close up ones with the retouch color values analyzed by the application itself. Simply, select the tool and click on the target area and the target area is healed automatically.
5) How to Presets Brush ?
The first option is the brush presets for spot healing brush which includes multiple options namely size, hardness, spacing, angle, roundness and size for touch devices which are stated below.
Size – This option allows you to control the size of the brush which can be obtained with the use of [ ] key on the keyboard as well.
Hardness – This option allows you to define the softness of the brush impact on the image. Higher the hardness sharper will be the edges of the brush artwork and vice-versa.
Spacing – This option allows you to control the space between two brush strokes which doesn’t have any effect on spot healing brush tool unless the value is set to the lowest or the highest value.
Angle – This option allows you to define the angle of the brush stroke which too has no impact on spot healing brush tool since the brush used is the round one.
Roundness – This option allows you to define the roundness of the brush stroke which too has no impact on spot healing brush tool since the brush shape used is already round.
Size – The lst option on the dropdoen of brush preset is also the size option which controls the size when the document is being edited from touch devices like Wacom Touch pads.
6) What is Healing Brush Tool ?
Healing brush tool is a disguised form of clone stamp tool that allows you to store multiple clone sources and use them quite easily meaning you don’t need to define clone source each time you have to switch the source. You can also choose between sample layer and pattern for cloning. You’ve also got the alignment option for multiple clonings as well as the option to sample current layer, immediate second layer or all layers. You’ll also find the option to toggle adjustment layers while healing.
7) What is Clone Source Panel ?
This option allows you to toggle the clone source panel which includes further options to define clone sources and choose between them to heal the target area along with options to flip or rotate the clone source, show or hide the sample overlay on the brush tip, clip the overlay only to the brush tip, hide overlay while painting, invert the color of overlay sample, control opacity and a few blending options too. This panel also displays the information regarding height and width of the clone source.
8) What is Patch Tool ?
Patch tool is designed to cover up unwanted sections of any image. It’s basically acts similar to the selection tools with some additional effects. Select the patch tool and make selection on the document. Choose desired options and drag the selection where you want to. You can see the results.
9)what is Pencil Tool ?
Pencil tool is almost identical to the brush tool. The only difference is that it contains the auto erase option which creates artwork with background color over the foreground color. Pencil tool doesn’t allow the user to define hardness of the brush stroke and gives a solid edge drawing while brush tool gives soft edged drawings too. This tool is used to draw artworks using minimal pixels at a time. If the size is increased it works the same as the brush tool in all other aspects.
10) What is Clone Stamp Tool ?
This tool is quite useful while you have a huge area to hide and you want some sections of the image itself be placed there. Layer via cut or copy won’t blend that nicely but using clone stamp tool will do the trick here.
Select the desired options, hit ALT + Click to define the clone source or open the clone source panel to store multiple sources and click on the area where you want the effect. Continuous brush stroke will repeat the entire clone source while individual clicks will repeat the selected part only.
11) What is History Brush Tool ?
History brush tool is another brush tool with identical options on the options bar. It is useful when you are working on image correction where you went further ahead than the application allows you to go back to the initial state. Simply, select the history brush tool with the blend mode normal and paint on your document and it will take you back to the initial state of the image through relatively easier route.
12) What is Eraser Tool ?
Eraser tool allows you to erase the contents of the document as effectively as an eraser would do on a piece of a paper. It erases the subject or content from the document and reveals the background color which is active on the foreground/background pallette on the tools bar.
13) What is Background Eraser Tool ?
Background eraser tool is quite handy when you need to preserve the foreground image and clean up the details from the background where most of the other selection tools fail. It’s mostly seen being used to replace backgrounds from close up photos with huge amount of flying hairs.
14) What is Magic Eraser Tool ?
This tool is quite useful when you have a large area with similar color range to be erased. It works quite similar to the magic wand tool by selecting entire area with same color value and deleting them at once.
Practical
About tools










No comments:
Post a Comment